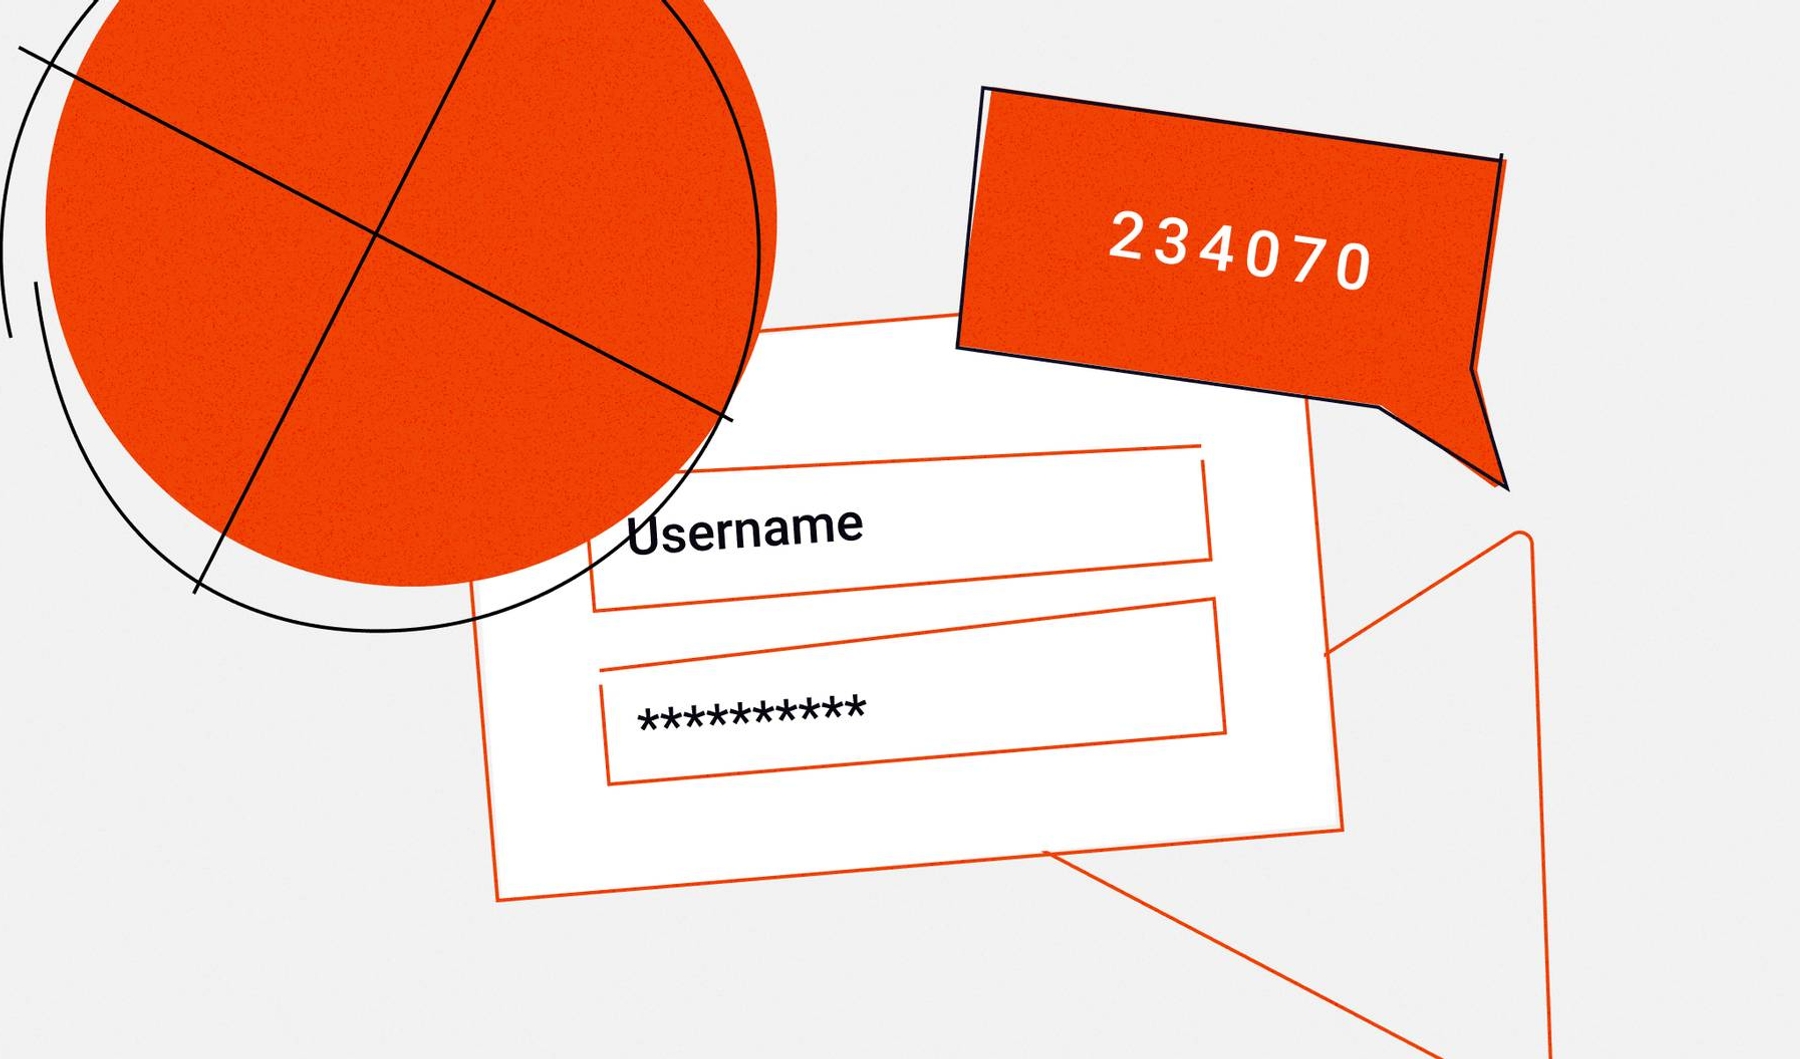
Single-factor authentication—typically, username and password—is the most common way to authenticate users online. But, the proliferation of data breaches has led many more companies to rethink this standard. Without a second form of authentication, anyone with your username and password can access your account, leaving you vulnerable to brute force attacks and data leaks.
Two-factor authentication (2FA) adds an extra layer of security to your account and helps safeguard your accounts online. 2FA divides authentication into two steps:
- First, verify who you are with your username and password
- Next, verify your identity with a one-time code sent to you via SMS or email, a code that you already possess (such as a PIN), or a frequently changing code in an authenticator app
Other than the PIN, these second-factor codes are short-lived, cannot be used twice, and should uniquely identify the user as the owner of the respective account.
Of the 2FA mechanisms available, SMS-based 2FA is the easiest to set up. The base infrastructure can be set up using Twilio Verify or Authy. You can then integrate it with your system for an end-to-end 2FA workflow. SMS 2FA also has wide user adoption as, over the years, people have become accustomed to logging into different applications with a one-time password received via text message.
But, SMS-based 2FA has its pros and cons. First, it's widely said that SMS-based two-factor authentication is not as safe as some other forms of 2FA. SIM swapping and phone hacking can both circumvent this security measure. Advanced attackers can even intercept your SMS messages or spoof cell phone towers.
Second, it's an expensive integration. Twilio Verify costs $0.05 (as of writing) per successful verification, plus standard fees per channel. Prices can vary per carrier, service provider, and volume. The costs may not affect you if you’ve only had a handful of user sessions, but they can add up quickly.
Using an authenticator, which is based on the Time-based One-time Password (TOTP) algorithm, is one of the strongest 2FA mechanisms, but it requires a smartphone or other device with an app to relay the TOTP code. In the case of device loss, a user could be logged out forever.
Using Browser Fingerprinting as a Supplement to SMS 2FA
Browser fingerprinting is another technique that can help solve the high cost of 2FA via SMS. The user’s browser and device carry a lot of information that can be compiled to form a unique fingerprint for a user. Using this fingerprint, you can continue using SMS for two-factor authentication while cutting down on the number of paid verification attempts.
In this post, I’ll demonstrate how you can use browser fingerprinting as a supplement to SMS-based two-factor authentication. I’ll show you how to build a small NodeJS application that uses Twilio Verify for 2FA, and then I’ll add Fingerprint for browser fingerprinting.
The finished application is available on GitHub, or you can follow along with this tutorial to build it on your own. Let’s get started!
Setting Up a Simple Login Application
To get you started, I’ve created an Express NodeJS application with a login page and dashboard for authenticated users. You’ll use this application as a starting point for implementing Twilio Verify and Fingerprint.
To download the code, clone this repository and checkout the base branch:
git clone https://github.com/karllhughes/fingerprintjs-twilio-verify.git
git checkout base
Next, install the NPM dependencies and start the Node server:
npm install
npm start
The simple login application will now be running at localhost:3000.

In the real world, you would retrieve users from a database, but as this is just a demonstration application, I’ve created an array of users in the routes/auth.js file:
const users = [
  {
    id: 1,
    username: 'karl',
    password: 'abc123',
  },
];
You can test the login application by using the default username and password shown above or by updating the username and password then restarting your Node server.
Adding Twilio Verify
Twilio Verify simplifies the two-factor authentication process and offers you the choice of multiple 2FA channels.
First, sign up for a Twilio account. You need to verify your phone number, and then you’ll get to the Twilio Console. This page includes your account information and the secrets you’ll need, like your Account SID and authentication token.

From the Console, create a Verify service. Once created, a Verification SID is generated. This SID is required when using the Verify SDK.

With Twilio configured, head back to your terminal. Install the Twilio NPM package and dotenv to manage your secrets:
npm install twilio dotenvNext, add your Twilio credentials and verification service ID to a new file called .env:
# Twilio API credentials
# (find here https://www.twilio.com/console)
TWILIO_ACCOUNT_SID=...
TWILIO_AUTH_TOKEN=...

# Verification Service SID
# (create one here https://www.twilio.com/console/verify/services)
VERIFICATION_SID=...
You will now be able to call Twilio’s API using the Node package, but you need to update the routes/auth.js file first. Import the Twilio library and add a phone field to the user in the users array:
...
const {TWILIO_ACCOUNT_SID, TWILIO_AUTH_TOKEN, VERIFICATION_SID} = process.env;
const twilio = require('twilio')(TWILIO_ACCOUNT_SID, TWILIO_AUTH_TOKEN);

const users = [
    {
        id: 1,
        username: 'karl',
        password: 'abc123',
        phone: 'YOUR_PHONE_NUMBER',
    },
];
...
Be sure to use your real phone number so you can test out two-factor authentication.
Now, Update the POST /login route so that after a user is authenticated, the Twilio API will be called and the user will be directed to a new /verify route:
...
router.post('/login', (req, res) => {
    const session = req.session;
    const user = authenticate(req.body.username, req.body.password);
    if (user) {
        session.user = user;
        session.verified = false;
        twilio.verify.services(VERIFICATION_SID)
            .verifications
            .create({to: user.phone, channel: 'sms'})
            .then(() => res.redirect('/auth/verify'));
    } else {
        res.redirect('/auth/login');
    }
});
...
Next, create new GET /verify and POST /verify routes to handle the two-factor code input and processing logic. Here’s what those routes look like:
...
router.get('/verify', function (req, res, next) {
    res.render('verify');
});

router.post('/verify', (req, res) => {
    const session = req.session;
    if (session.user) {
        twilio.verify.services(VERIFICATION_SID)
            .verificationChecks
            .create({to: session.user.phone, code: req.body.code})
            .then(verification_check => {
                if (verification_check.status === 'approved') {
                    session.verified = true;
                    res.redirect('/');
                } else {
                    res.redirect('/auth/login');
                }
            });
    } else {
        res.redirect('/auth/login');
    }
});
...
You’ll notice that most of the work here is done by the Twilio library. You just need to check whether the verification_check.status field is approved and redirect the user accordingly.
You’ll also notice that this code adds a new session variable, session.verified. To prevent unverified users from seeing the dashboard, you need to update the routes/index.js file to check that the user has been verified:
...
router.get('/', function(req, res, next) {
  const user = req.session.user;
  const verified = req.session.verified;
  if (user && verified) {
...
Finally, you need to add one new view file for the /verify endpoint. Create a file at views/verify.hbs and add:
<h1>Welcome!</h1>
<p>Please verify using the two-factor authentication code sent to your phone</p>
<form action="/auth/verify" method="post">
<div class="form-group">
    <label for="code">Authentication code:</label>
    <input type="text" class="form-control" id="code" name="code" required />
</div>
<input class="btn btn-primary btn-block" type="submit" value="Verify">
</form>
Start your Node server with npm start and go back to localhost:3000. This time after you log in, you’ll see a new input field to enter your two-factor authentication code.

Your application is now more secure, but this setup requires users to verify their account every time they log in. With thousands of users logging in multiple times per day, you can see how expensive this could get and how annoying this will be for your most frequent users.
Implementing Fingerprint for Two-Factor Authentication
While a browser fingerprint alone is not strong enough to act as a second form of authentication, using a browser fingerprint to bypass 2FA can be much more convenient for your users while maintaining security. For example, if a user recently logged in and they’re still using the same browser as their most recent login, you can reasonably skip two-factor authentication in most applications.
Note: security is a very application-specific topic, so don’t take my advice here as a blanket rule for every situation. You’ll need to weigh the risk for your use case.
Let’s look at how you can use Fingerprint to generate a browser fingerprint that’s 99.5% accurate and will allow you to bypass 2FA in some situations. To start, you need to sign up and get a public API key that you will use for identification:

Next, add the Fingerprint script to your views/layout.hbs file just above the line that adds your Express application’s custom JavaScript:
…
   <script src="//cdn.jsdelivr.net/npm/@fingerprintjs/fingerprintjs@3/dist/fp.min.js"></script>
…
Once you have your Fingerprint public API key, you can add the following to your public/javascripts/index.js file:
$(document).ready(() => {
    FingerprintJS.load({apiKey: 'your-public-api-key'})
        .then((fp) => fp.get())
        .then((result) => {
            console.log(result.visitorId);
            $('input#visitorIdInput').val(result.visitorId);
        });
});
In addition to loading the current user’s fingerprint, this outputs the unique visitor ID to your console and adds it to an <input> element having the ID visitorIdInput.
You’ll need to add this new input element to your login form as a hidden field. Add the following just above your “Login” input button:
...
<input type="hidden" id="visitorIdInput" name="visitorId" />
...
With the new hidden input field and Fingerprint library loaded, update the routes/auth.js file again.
First, add a new field to the users array object called lastKnownVisitorId:
…
const users = [
    {
        id: 1,
        username: 'karl',
        password: 'abc123',
        phone: 'YOUR_PHONE_NUMBER',
        lastKnownVisitorId: '', // Intentionally blank for now
    },
];
…
Update the POST /login route again to check the user’s current visitor ID against this last known visitor ID:
...
router.post('/login', (req, res) => {
    const session = req.session;
    const user = authenticate(req.body.username, req.body.password);
    if (user) {
        session.user = user;
        if (user.lastKnownVisitorId === req.body.visitorId) {
            session.verified = true;
            res.redirect('/');
        } else {
            session.verified = false;
            twilio.verify.services(VERIFICATION_SID)
                .verifications
                .create({to: user.phone, channel: 'sms'})
                .then(() => res.redirect('/auth/verify'));
        }
    } else {
        res.redirect('/auth/login');
    }
});
...
Start your Node server again with npm start. The first time you load the page, open the console and retrieve your visitor ID.

Add this ID to your user’s lastKnownVisitorId field in the routes/auth.js file and restart the Node server.
Now, when you log in, you’ll be able to bypass the Twilio Verification so long as your browser fingerprint matches the one you added to your user object.

Conclusion
By using a browser fingerprint for extra verification, you can minimize the cost of using 2FA via Twilio SMS and improve your app’s user experience for frequent users. This workflow lets you have the best of both security and convenience, plus Fingerprint makes it really easy to implement.
Apart from this use case, Fingerprint can be used for strengthening fraud detection, reducing bot attacks, and offering a customized experience to repeat visitors to your site. Sign up for a free Fingerprint Pro account to get started today.